A water softener is a device designed to remove minerals like calcium and magnesium from water, which cause hardness in your Etobicoke home. This process, known as ion exchange, replaces these minerals with sodium or potassium ions, effectively “softening” the water. Hard water can lead to various issues in homes, such as scaling in pipes, decreased appliance efficiency, and even skin irritation. By installing a water softener, homeowners can eliminate these problems and enjoy a host of other benefits.
How Water Softeners Work
Water softeners use a process called ion exchange to remove the hardness-causing minerals from water. As hard water passes through the softener tank, it flows over resin beads that are negatively charged. The positively charged calcium and magnesium ions in the water are attracted to the resin beads and are replaced by sodium or potassium ions. Over time, the resin becomes saturated with calcium and magnesium, so the system regenerates by flushing the beads with a saltwater solution to clean and reset them for continued use.
Benefits of Soft Water in Homes
1. Prolongs the Life of Appliances: Hard water leaves scale deposits in appliances like dishwashers, washing machines, and water heaters. Over time, this build-up decreases efficiency and can lead to costly repairs or replacements. Soft water prevents this build-up, improving the lifespan and efficiency of these appliances. Read more about the impacts of limescale from hard water.
2. Better Skin and Hair: Hard water can leave residue on your skin and hair, leading to dryness and irritation. Soft water helps soap and shampoo rinse out more thoroughly, leaving skin softer and hair shinier.
3. Cleaner Dishes and Clothes: Hard water often leaves spots on dishes, making clothes look dingy even after washing. Soft water, on the other hand, allows detergents to lather more effectively, resulting in cleaner dishes and brighter, softer laundry.
4. Reduced Energy Bills: Since water heaters and other appliances run more efficiently with soft water, it can lead to lower energy consumption and, ultimately, reduced energy bills.
Installation Process and Costs
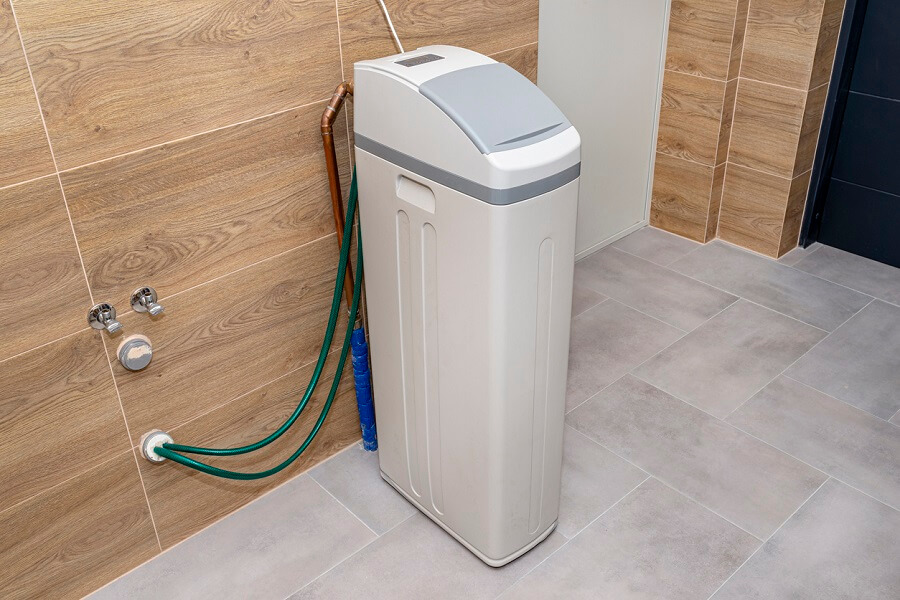
Installing a water softener system typically involves placing the unit near your home’s main water line. The process requires professional installation to ensure proper integration with the existing plumbing system. Costs vary depending on the type and size of the system as well as the unit and installation. While this can seem like a significant investment, the long-term savings on energy bills and reduced appliance maintenance make it worthwhile.
Contact Us For Quality Plumbing Installations In The Etobicoke, Toronto Area
A water softener system improves water quality and offers homeowners long-term financial and health benefits. Contact us to discuss water softening solutions for your Etobicoke home.